How My First Launch Sold Out in 4 Days: The Ins & Outs of Selling Art Prints
Creating artwork as a means of your own creative expression can be satisfying but selling your artwork to inspire others can be even more fulfilling. My first time ever selling prints of my work was a bit over two years ago when I created a painting that went viral. The success behind the decision was undeniable so I figured I’d share exactly how it was done so that others who are just starting out have something to help guide them along the way. The journey was nowhere near simple nor easy. Thankfully, despite planning for a two week campaign, I was able to sell out within just four days! Here’s how I did it!
Choosing the method that works best for you
Originally, I chose to use print on demand. The print on demand method is quite self explanatory. Print on demand websites such as Printful.com, allow artists to print products as orders roll in. Items are then drop-shipped to customers by the same print company.
This method enables creators to save space and money by preventing the cost of overstock in inventory. Creators can also save time as they are not responsible for packaging nor shipping the products.
The disadvantage of Print on Demand services however, is that the profit margin can be rather low. Creators must cover a fee for product production in addition to a shipping fee for every order. The difference between the selling price (price that customers pay) and the cost (the fee charged by the print company) would be the profit that the artists earns.
Having a private label on the other hand would place more responsibilities on the creator such as finding a print manufacturer, purchasing shipping materials, packaging the prints, shipping the prints and covering shipping costs. Despite the additional responsibilities, this method allows creators to save money since products are significantly cheaper when ordered in bulk.
Print Manufacturing
After deciding to do everything manually, I was tasked with finding a trustworthy print company. I opted to order my prints from Catprint.com. Although the prints were a bit pricey, ordering in bulk allowed for the price per unit (price per each print) to decrease tremendously.
One of the most beneficial features that CatPrint offers is the option to order samples. My samples arrived late due to conflicts with USPS but CatPrint was eager to solve my issue. The samples granted me a preview of how the varying sizes would print.
For the best quality prints, I would recommended that files are uploaded in 300 DPI when printing on a giclee printer. This can be checked by opening your design in Photoshop, choosing “image”, “image size” and then setting the resolution to 300 DPI.
Each design was created in Procreate using SRGB. The designs did not need to be converted to CMYK (used for t-shirt printing) being that giclee prints do not use a 4 color ink printer but instead an 8-12 color ink printer. Lastly each file was saved and uploaded as a JPEG.
Pricing & Costs
Determining the price of my prints was probably one of the most difficult tasks. It’s very normal for me to struggle with pricing my creations as I want to make sure I have affordable options but still earn a profit for the time and effort put into designing.
When pricing prints, it is important to consider the complexity and time taken to create the design, in addition to the print size and cost. It is recommended that prints sell for at least 3x-4x the cost to print. My printing costs were more expensive because I provided luster prints, a professional finish that gives prints a nice shine. For cheaper or more affordable options, creators may want to use matte finish paper instead.
Shipping prices should be determined by the cost of shipping the parcels in addition to the costs of shipping materials per unit. The cost of shipping materials per unit can be calculated by dividing the total cost by the number of units purchased. Google or Excel sheets are a great way to easily record and calculate profit, revenue and expenses.
Marketing
Pre-Release
For the best results, it is important to have a very well thought out marketing plan. After posting a photo of my initial painting on twitter, and gaining traction, I realized there was a market for this specific design. I linked a tweet under the initial post, asking people who were interested in purchasing prints to like the tweet so that I may get an estimate of interested customers.
The tweet garnered a bit over 1000 likes and so I figured that if at least 10% were to actually purchase, I would be able to sell at least 100 prints. I responded to as many comments and direct messages as possible by informing interested customers that I would in fact be releasing prints and to look out for updates via Instagram & Twitter.
After intensive scheduling, I announced a release date for my prints. I have found that it is most helpful to advertise on as many platforms as possible. This is a great way to optimize the engagement of your audience. To maintain the interest and relevance of potential customers, I released engaging content. For example, I took polls asking my customer base which size prints they would be interested in purchasing. I even proposed a challenge that provided my audience the opportunity to recommend their own design in exchange to win a free print.
All of the content used to promote the campaign was planned prior to the launch. This includes any graphics, mock photos (created using Printful.com), captions and message templates. I found it very helpful to use the app “Preview“ to create mock Instagram posts. This helped assure that my content matched the aesthetic of my Instagram feed.

Post-Release
Apart from posting content, my advertisement revolved heavily upon directly contacting those I knew were interested. I used my reference tweets to directly send updates and content to those that expressed interest initially.
Hashtags have also proven to be extremely helpful when used correctly. I strategically chose hashtags related to my Instagram content in order to boost my engagement and gained over 2.6k impressions from hashtags alone. I also used hashtags on Twitter to identify customers that fell within my designated demographics. I used ones such as “Sneakerheads”, for example, to find customers who shared interest in the Jordan 1’s, shoes and style.
One method I wish I employed sooner was an email list. Creating an option for customers to sign up for email lists will make it easier to send updates regarding product releases, restocks, discounts and more.
Packaging & Shipping
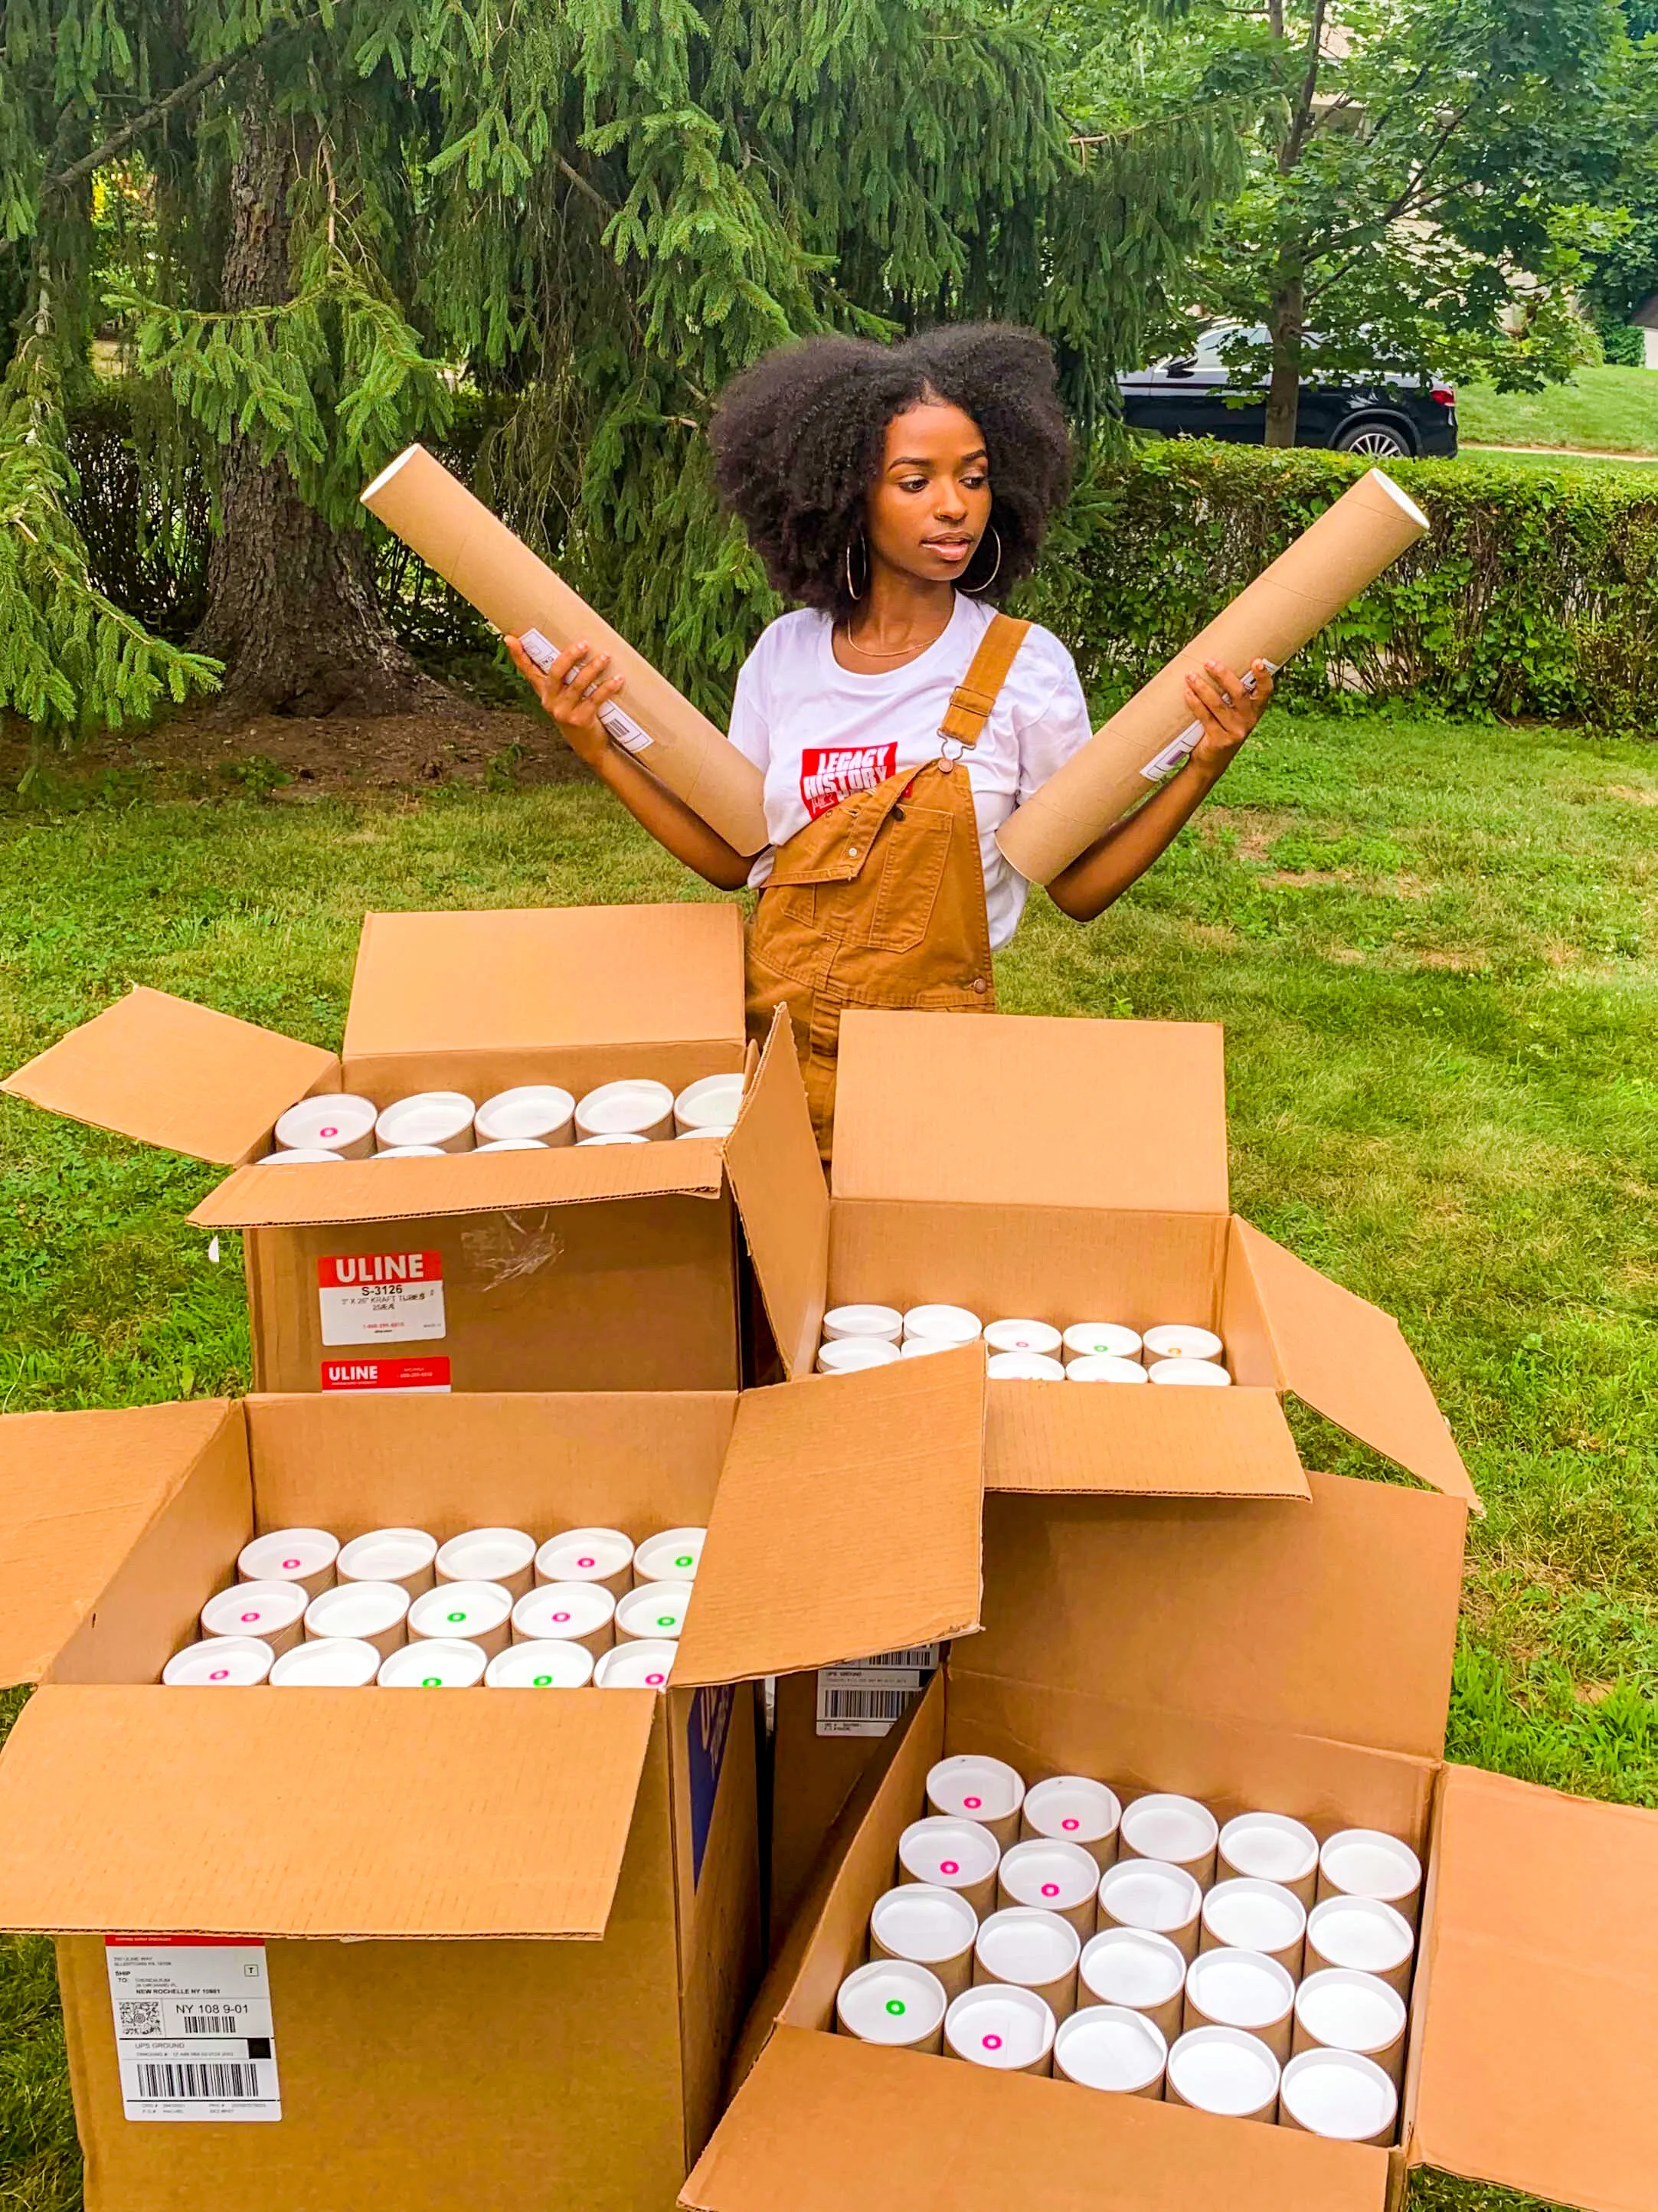
In order to ensure the safety of the print from harsh shipping conditions, I used brown paper to wrap the prints and then used kraft mailing tubes to encase them. Shipping materials were ordered in bulk from Uline.com.
For larger prints, tubes a diameter of three inches or larger are best to keep prints from wrinkling. The smaller the diameter of the tube, the tighter the print will be rolled and thus, the harder it will become to flatten.
Rather than paying for shipping carriers such as USPS, FedEx or UPS to weigh and label the items that need to be shipped, I purchased a scale to weigh each package myself. I then used Shippo.com to find affordable shipping labels and discounts. Weighing the packages and purchasing the labels myself saved me hundreds of dollars.
Add Ons
A great way to improve packaging is by adding add ons. Moving forward, I would be sure to include them in orders. Given that rounded tubes were used instead of cellophane sheets or square boxes, it was difficult to find ways to include add ons without them becoming misshaped. Normally, artists may include a sticker or two, a customized thank you card and/or business card. Simple add ons can be great to boost customer satisfaction.